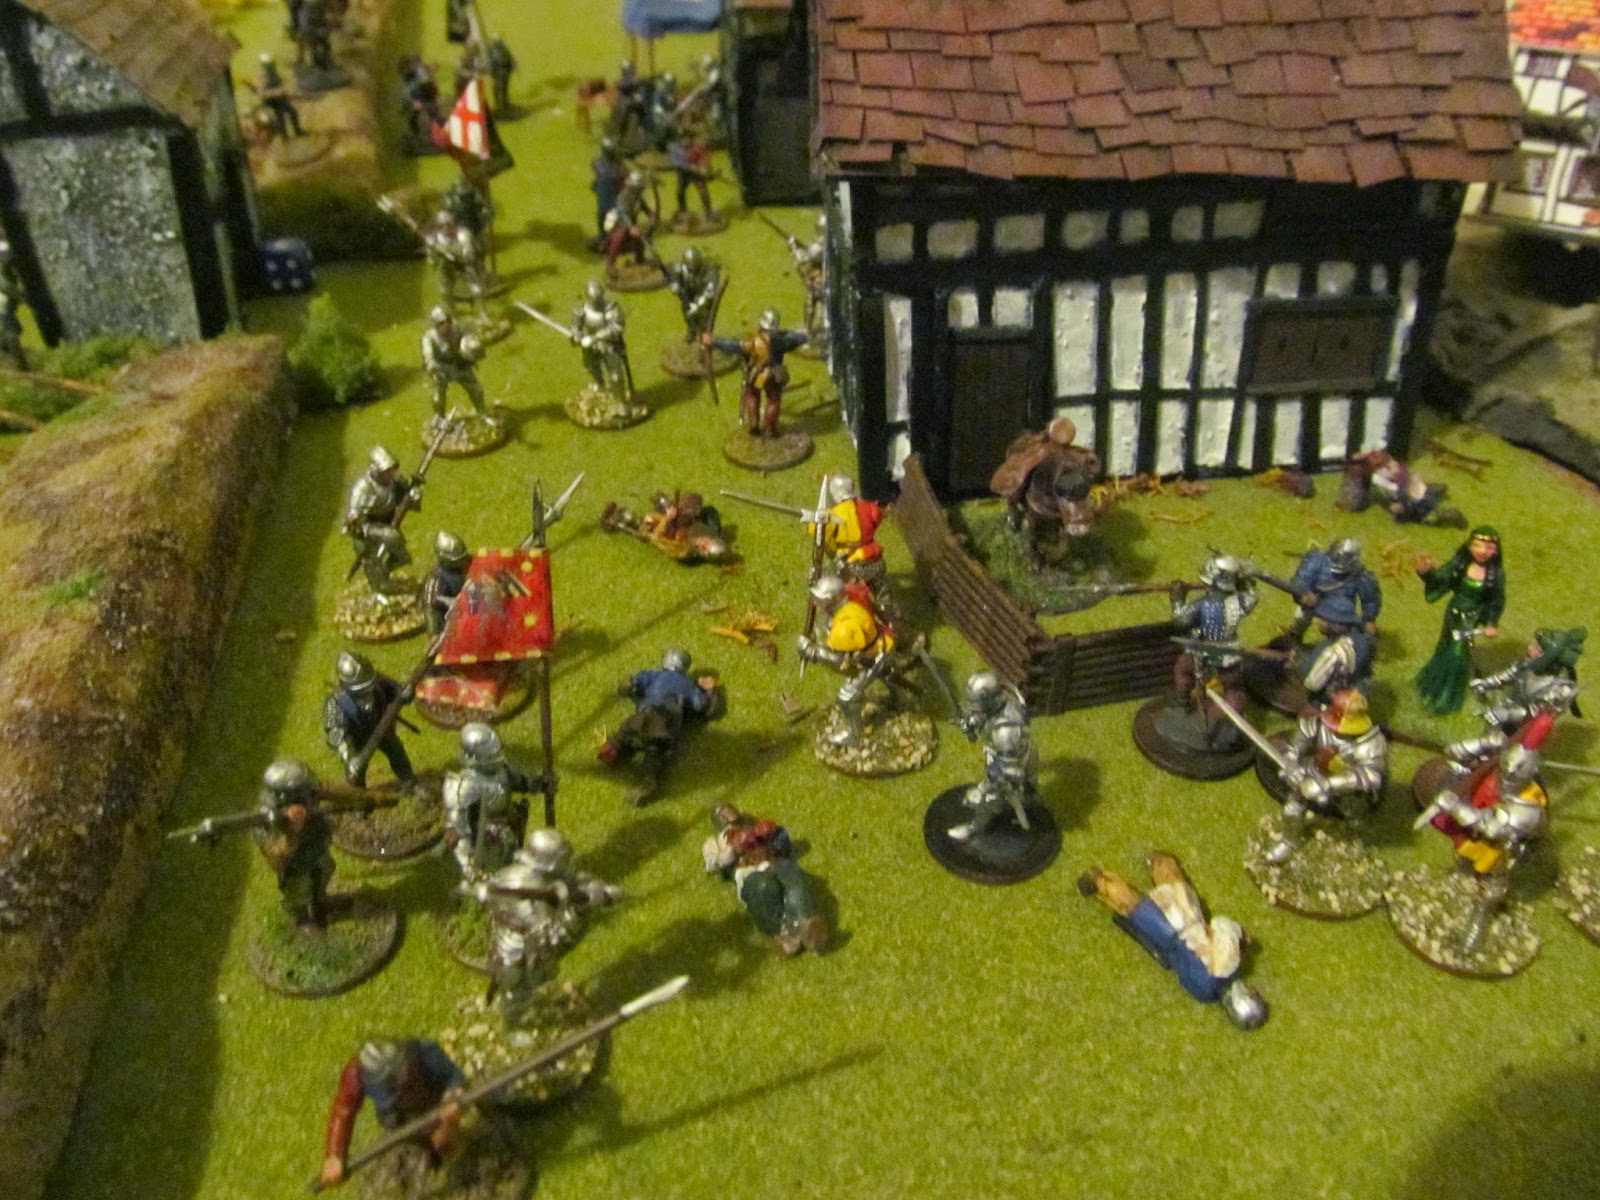
Recently I have become rather interested in the Balkan and Adriatic theatre of the Napoleonic wars (centering around the Adriatic sea, the Napoleonic Illyrian coast, Sicily and the Ionian isles) and myself and M were planning to do a campaign based on the British invasion of the Ionian isles (1809-10) once we had painted up enough of our British and French forces. So for today, it being January, we decided to have a snow based game. The location: a coastal village in Dalmatia.

In 1809, with the defeat of the Austrian empire, the Adriatic coast of the Balkans became part of the Napoleonic French empire. For many of the inhabitants it was not much of a change. They had never been keen on the oppressive police-state regime of Austria and, despite the introduction of the reforming Code Napoleon, French conscription and heavy taxes to pay for all Napoleon's wars were also a burden. Most often the people of Illyria were more concerned with skirmishing with the Ottoman Turks on the borders and in most cases desired complete independence from any of the great empires.

The story behind our scenario was that a British frigate, cruising in the Adriatic, had got news that the locals Dalmatians were ready to rebel against their French overlords, however they had little weaponry and a large French force was camped in the countryside around. But in the coastal village of Vinišće the French had been using the local mill as their powder store and armoury. The village was held by just a handful of dragoons, while the rest of the force was stationed further inland. In order to help the locals in their mission to start a guerrilla conflict against the French the British would need to help them secure the powder and muskets. To accomplish this task the frigate's company of marines, together with a detachment of the 28th foot, were dispatched to attack the village.

The village, an old medieval fortified town, was held by just a dozen dragoons and their officer, with whom a staff officer had been quartered to administer the powder. Upon seeing the approaching long boats, the lieutenant of dragoons set out with half his men to attempt to hold the beach, the other half remaining to guard the mill. Seeing that he could not possibly hold off the full landing party the lieutenant sends off his report and request for reinforcements with the ADC staff officer.

The British mission then is to sweep aside the dragoons, take the mill and hold it while the locals empty the powder and muskets into a wagon. The French aim to hold the British up on the beach for as long as possible, reinforcements will arrive either when the ADC reaches the other side of the board, or when the British are in position around the mill. French forces off the board greatly outnumber the British, however the British are also helped by the local villagers, armed with pitchforks, bills and hatchets.
With the British leaping from their boats onto the beach, the ADC rushes for the main gate for the village, while the dragoons begin firing down at the redcoats, only to find it blocked by a large band of armed local villagers
The dragoons having failed to hit anything with their opening shots, the Marines and 28th now launch their volleys up the beach, under the watchful eye of the Frigate's marine lieutenant. In the blast two dragoons are downed.
With the peasants pouring from the village, the ADC changes his tack, charging north, to skirt round the village with his important message! The firing from the dragoons again achieves naught.
Falling in to skirmish line to attack the preliminary barricades at the top of the beach, the marines and redcoats take out three more dragoons with their devastatingly efficient firepower.
Seeing the British making light work of the dragoon pickets, the ADC, sword drawn, turns to charge straight for the gates to the village. Meanwhile the remaining dragoons in the village, have begun an advance to secure the village's gates, all the while having to fight off the armed locals within.
A few minutes later and things are starting to look desperate for the French. All but one of the dragoons are shot down by the advancing British as the ADC, having no success in smashing through the local peasants, rides south. Now over the light defences the British launch another volley, blasting down both ADC and horse. The dragoons within the village, though in control of the gates, find themselves attacked on both sides by the armed villagers.
The last dragoon on the beach surrendered to the British, while the last dragoon within the village, breaking free from the gates, made a run for the other side of the village, intent on warning the main force.
However he suddenly found the way blocked by angry villagers, other armed peasants closing in on him from every side. Seeing the only way open to him, he ran to surrender to the British naval lieutenant.
The British column of marines and 28th foot, with their two French prisoners, was now inside the village, the peasants with their cart, already knocking down the doors of the mill.
But, having heard the far off sounds of gunfire, and seen the red column entering the village, French skirmishers, visible on the distant hillside, were already approaching.
While a group of the peasants secured and began emptying the mill, the British formed quickly in to two lines, while the other locals rushed to hold the line of fences and hedges on the far side of the village.
The British and local rebels moved rapidly to secure each line of hedges and walls, while the peasants passing the mill began to arm themselves with muskets.
With the skirmishers leading the way, the rapidly mobilised French and Polish infantry began to close in on the village, still more reinforcements on their way.
Advancing close the village, the leading skirmishers suddenly came under fire from the British and rebels at the line of hedges, losing three to their opening volley.
Obliquing to their right, the French skirmishers rushed forward and opened fire, taking down only a couple of redcoated defenders.
With another volley from the steadily reinforced hedgeline, another three skirmishers were cut down, but by now the other French forces behind them were closing in, successfully shielded.
Forming into line of sections the French and Poles closing in volleyed the hedge, downing several rebels, but the peasants at the mill were making light work of unloading the contents and it would not be long before they could make off with their cart load of weaponry.
Another section of Poles moved up to fire, while the other sections already in place began a flanking manoeuvre to pour fire upon the flank of the 28th, cutting down several of the redcoats.
With the British position becoming unholdable, the French and Poles falling upon their flank and cutting apart the 28th on the end of the line, the British decided to fall back on the mill, the rebels having almost finished their unloading.
As the marines withdrew with good order, the remainder of the 28th scattering back to the fence line, the opposing line of Poles and French charged. Both lines closed on the fence. The French had the best of it against the 28th and rebel musketeers, but the marines held their position and successfully held off the Poles. With the mill at last emptied all the British now needed to do was retire, but with the French on their heels they still risked being mauled.
The marines continued to withdraw in good order, their flanks held by local rebels as the French and Polish line fell upon them.
With the French and rebels closing, the Polish left flank of the line volleyed the marines but failed to even dent it!
Having cut down most of the 28th and rebels still fighting, the French, though by now mainly Polish line, continued advancing on the marines, who feel back into the dragoon camp. Another volley from the Poles cut down but one marine, who was quickly helped to his feet by the 28th's surgeon.
A final bayonet charge by the Poles crashed into the marine line, but the marines again held, taking no casualties. The cart of powder and muskets was by now well out of reach, but it remained to extract the rest of the British force.
With the Poles beaten off, the Marines fell back into line on the edge of the village and fired a parting volley into Polish ranks, cutting down several men.
The raid was over. Vinišće's mill had been emptied and the rebels had made off with its powder, ammunition and musket store.
The British had successfully destroyed the dragoon garrison, armed all the rebels and captured two dragoon prisoners, who would be shipped off to Sicily or perhaps exchanged. However they had lost almost the whole section of the 28th, which was nearly half their force, though the marines, in true fashion, had escaped with but one man wounded!
It was a bad defeat for the French with plenty of men lost, their powder and arms looted and the local villagers in open rebellion.